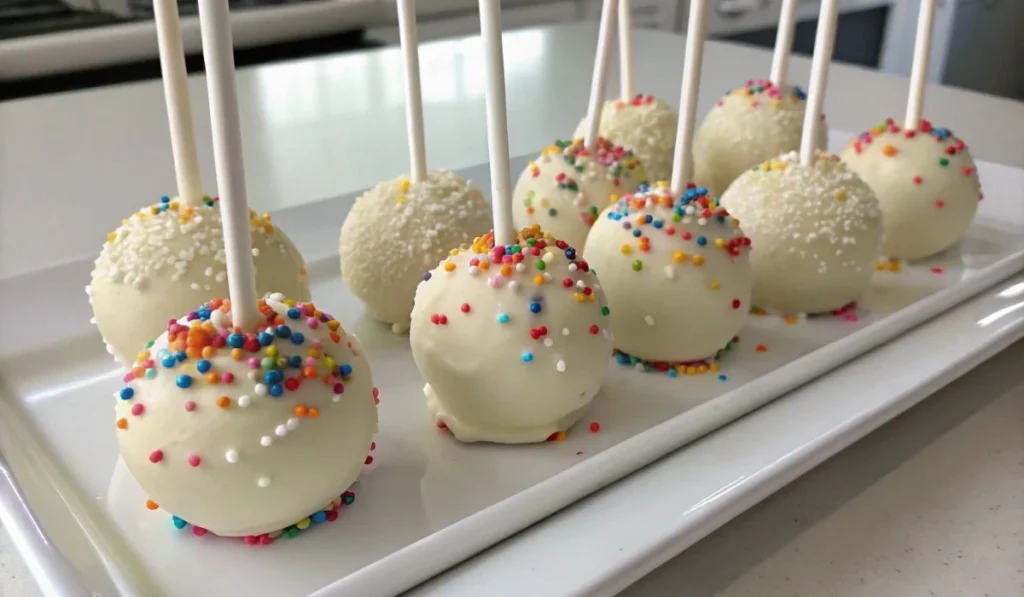
Why buy when you can DIY the tastiest cake pops ever? This fully from-scratch recipe delivers delicious, eye-catching treats kids—and adults—will rave about!
Why Go Homemade? (Plus a Cost-Saving Bonus!)
Cake pops are trending at parties and on Instagram—and store-bought options (we’re looking at you, Starbucks) can cost $2–3 each. Homemade, they’re:
- More affordable: Around 50‑60p per pop versus $2+,
- Customizable: Any flavour, colouring, decoration,
- Freezable: Make ahead, freeze, thaw, and serve.
What You’ll Need
Equipment
- 9″ springform or 11×7″ baking pan
- Stand or hand mixer
- Lollipop sticks or disposable wooden skewers
- Styrofoam block or polystyrene carrier for drying
- Microwave-safe measuring cup or double-boiler
Ingredients
Vanilla Cake
- 1⅔ cup (209 g) plain flour
- ½ tsp baking powder, ¼ tsp baking soda, ½ tsp salt
- ½ cup (113 g) unsalted butter, softened
- 1 cup (200 g) sugar
- 1 large egg, room temp
- 2 tsp pure vanilla extract
- 1 cup (240 ml) milk (whole or buttermilk)
Vanilla Buttercream
- 7 Tbsp (99 g) unsalted butter, softened
- 1¾ cup (210 g) icing sugar
- 2–3 tsp double cream or milk
- 1 tsp vanilla extract
Coating & Decoration
- 24 oz (678 g) white chocolate or candy melts
- Gel food colouring (optional)
- Sprinkles, crushed nuts, coconut, edible glitter
Substitutions
- Vegan: Replace butter with vegan spread, egg with flax egg, milk with plant milk
- Gluten-free: Use 1:1 gluten-free flour mix
- Lower sugar: Reduce sugar by ¼ cup, check sweetness
Step-by-Step Recipe
1. Bake the Vanilla Cake
- Preheat to 350 °F (177 °C) and grease your pan.
- Whisk flour, baking powder, soda, and salt.
- Beat butter + sugar ~2 mins until light, add egg & vanilla until creamy.
- Alternate adding dry mix + milk on low speed. Scrape bowl & pour batter.
- Bake 30–36 mins or until a skewer comes out clean. Cool completely in pan on a rack.
2. Make Vanilla Buttercream
- Beat butter ~2 mins until pale.
- On low, mix in icing sugar, cream, vanilla.
- Increase to high speed and beat 3 mins for silky texture.
3. Form the Cake Balls
- Crumble cooled cake into frosting; mix until fully combined.
- Use 1 Tbsp (20 g) scoops to roll firm balls.
- Chill on baking tray ≥2 hrs or freeze 1 hour.
- Re-roll chilled balls for a smooth finish.
4. Dip & Decorate
- Melt coating in a measuring cup: microwave 20s at a time (or double-boil), stir until smooth.
- If tinting, add gel colour after melting.
- Dip sticks ~½″ into coating, then into cake ball.
- Dip into coating fully, tap excess off. Add immediate decorations.
- Stand upright in foam or box to set (~1 hr).
Pro Tips for Perfect Pops
- Chill makes perfect: Cold balls roll smoother and dip cleaner.
- Avoid cracked shells: Let melted coating cool 5 minutes before dipping cold pops.
- Fix sticky sticks: If stick slides, dip first ½″ in coating, reinsert, let set warm for 5 mins before dipping completely.
- Prevent flat bottoms: Insert stick off-centre—not all the way—to avoid flat spots.
Flavor & Decoration Variations
- Red Velvet: Replace ½ tsp cocoa + 2 tsp milk with red food colouring.
- Cookies & Cream: Add crushed Oreo into cake-frosting mix.
- Mint Chocolate: Swap vanilla for ½ tsp mint extract + add green tint.
- Seasonal Pops: Pink coating & heart sprinkles for Valentine’s, orange + candy corn for Halloween—get creative!
Make-Ahead & Storage
| Stage | Freeze Temp | Shelf Life | Thawing |
|---|---|---|---|
| Uncoated cake balls | -18 °C | Up to 6 wks | Thaw in fridge |
| Fully coated pops | -18 °C | Up to 6 wks | Thaw upright |
Storage: Store in an airtight box in the fridge for up to 1 week; bring to room temp (~20 mins) before serving.
FAQ & Troubleshooting
Why are my sticks falling out?
Ensure cake balls are cold, stick is dipped in coating before inserting, and allowed to set briefly before full dip.
Coating cracked after setting?
Warm melt + cold ball = cracks. Let melted coating cool ~5 minutes before use.
How to fix lop-sided balls?
Roll gently halfway through chill time, then finish rolling after chilling—smoothens shape.
Chocolate getting cloudy (bloom)?
Low moisture helps. Store in airtight box, avoid fridge then room humidity swap.
Nutrition & Cost Breakdown
Approximate nutrition per pop:
Calories: 150 kcal • Fat: 8 g • Sugar: 14 g • Protein: 1 g
Make It Yours
- Printable Recipe Card: Ideal for fridge or gifting
- Decoration Kits: Package with extra sprinkles & ribbon for parties
- Gift Idea: Assemble 12 in cello bags tied with ribbon—a homemade party hit
These cake pops aren’t just treats—they’re memories. DIY flavour, color, and pizzazz are yours to choose. Great for birthdays, bake sales, or treat-yourself moments. Share your themed versions on Instagram and tag us for a chance to be featured!

Homemade Cake Pops
Ingredients
Equipment
Method
- Preheat oven to 350°F (177°C). Grease a 9-inch springform or 11×7-inch pan.
- Whisk flour, baking powder, baking soda, and salt in a bowl. Set aside.
- Beat butter and sugar for 2 minutes until creamed. Add egg and vanilla. Mix well.
- On low speed, add dry mix and milk alternately until just combined. Pour into prepared pan.
- Bake for 30–36 minutes or until a toothpick comes out clean. Cool completely.
- Beat butter for buttercream until creamy. Add sugar, vanilla, and cream. Beat for 3 minutes until fluffy.
- Crumble cooled cake into frosting and mix thoroughly. Scoop 1 Tbsp at a time and roll into balls.
- Chill cake balls for 2 hours (or freeze 1 hour). Re-roll to smooth after chilling.
- Melt coating in a microwave-safe cup or double boiler. Let cool slightly before dipping.
- Dip lollipop stick ½” into coating, then insert into cake ball. Dip ball in coating, gently tap excess off.
- Add sprinkles immediately. Let cake pops dry upright in a stand or foam block for 1 hour.
- Store in fridge for up to 1 week or freeze for up to 6 weeks.