Finding a perfect banana pudding recipe can transform your dessert game completely. This creamy, dreamy treat brings back memories of family gatherings and Sunday dinners. Best of all, you don’t need to turn on your oven.

Why This Recipe Works Every Time
I’ve tested dozens of banana pudding variations over the years. This version consistently delivers amazing results because it uses the right balance of ingredients. The secret lies in combining instant pudding with sweetened condensed milk for that perfect creamy texture.
My grandmother always said the best desserts are simple ones. She was right. This recipe proves that amazing flavor doesn’t require complicated techniques.
What You’ll Need
For the pudding base:
- 2 cups cold milk
- 1 package (5 oz) instant vanilla pudding mix
- 1 can (14 oz) sweetened condensed milk
- 1 tablespoon vanilla extract
- 1 container (12 oz) frozen whipped topping, thawed
For layering:
- 1 package (16 oz) vanilla wafers
- 14 small bananas, sliced
The beauty of this recipe is its simplicity. You probably have most ingredients in your pantry already.
Step-by-Step Instructions
- Make the pudding base. Whisk cold milk and pudding mix in a large bowl for exactly 2 minutes. This timing ensures proper thickening.
- Add sweetened condensed milk. Blend it in until the mixture looks creamy and uniform.
- Stir in vanilla extract. Mix thoroughly to distribute the flavor evenly.
- Fold in whipped topping. Use gentle folding motions to keep the texture light and airy.
- Slice bananas. Cut them just before assembling to prevent browning.
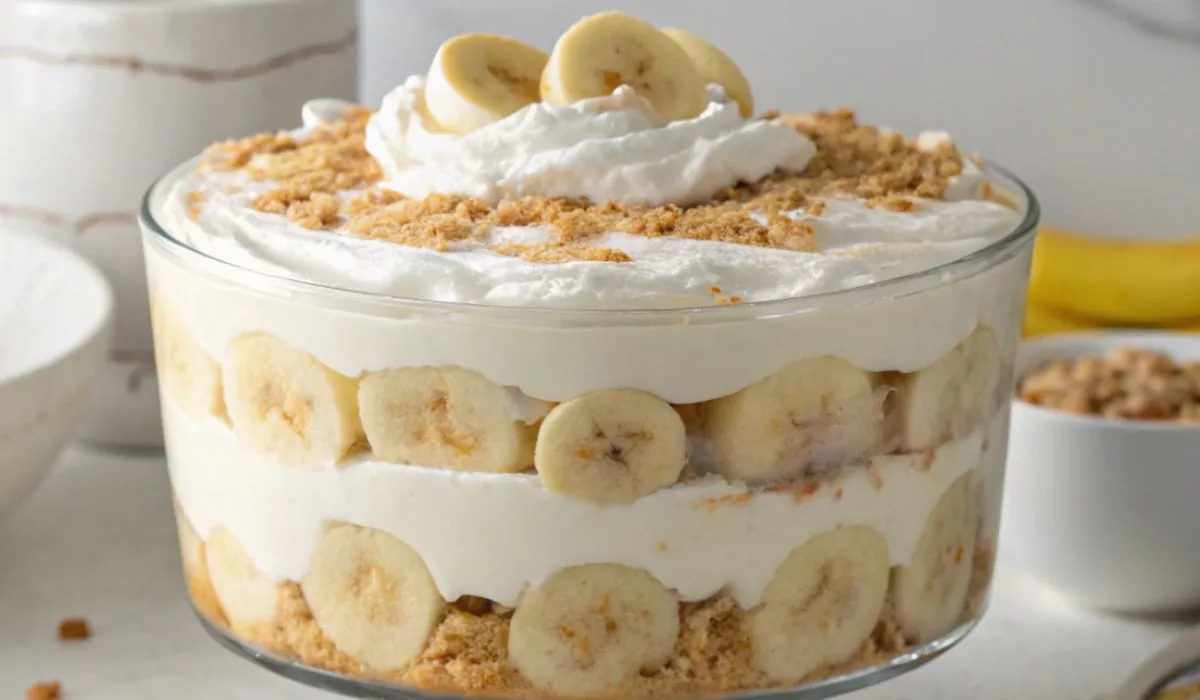
- Start layering. Place vanilla wafers on the bottom of your glass serving bowl.
- Add banana layer. Arrange sliced bananas over the wafers.
- Spread pudding mixture. Cover bananas with a generous layer of pudding.
- Repeat layers. Continue alternating wafers, bananas, and pudding until ingredients are used.
- Finish with pudding. End with a final layer of pudding mixture on top.
Pro Tips for Perfect Results
- Timing is everything. Make this dessert at least one hour before serving. The flavors need time to meld together.
- Keep bananas fresh. Slice them right before assembly. If you must prepare ahead, brush banana slices with lemon juice.
- Layer strategically. Don’t press down when layering. Let each component sit naturally for the best texture.
- Use cold ingredients. Cold milk helps the pudding set properly. Room temperature ingredients can make your dessert runny.
Storage and Serving
- Cover your finished pudding tightly with plastic wrap. Store in the refrigerator for up to three days.
- This recipe serves 20 people generously. Perfect for family reunions, potlucks, or holiday gatherings.
- Don’t freeze banana pudding. The texture changes completely and won’t taste the same.
Variations to Try
Want extra banana flavor? Use banana cream pudding mix instead of vanilla. This simple swap intensifies the banana taste.
For chocolate lovers, substitute chocolate wafers for vanilla ones. The combination creates a banana split flavor.
Add a layer of crushed pineapple for tropical flair. Drain it well before adding to prevent watery pudding.
Common Mistakes to Avoid
- Don’t overmix the pudding. Gentle folding keeps the texture light. Aggressive mixing deflates the whipped topping.
- Avoid old bananas. Use bananas that are ripe but still firm. Overripe ones become mushy and affect the overall texture.
- Don’t skip the chilling time. This step isn’t optional. The pudding needs time to set properly.
Why This Recipe Stands Out
After making banana pudding for over 20 years, I can confidently say this version beats all others. The combination of instant pudding and sweetened condensed milk creates incredible richness.
The no-bake approach means you can make this dessert year-round. No hot kitchen required, even in summer.
Most importantly, it tastes like the banana pudding from your childhood memories. That’s what makes a recipe truly special.
Final Thoughts
This banana pudding recipe delivers restaurant-quality results at home. The simple ingredients work together perfectly to create something extraordinary.
Your family will ask for this dessert again and again. Make it once, and it becomes your signature dish.
Ready to impress your guests? This foolproof recipe guarantees success every single time.
No-Bake Banana Pudding
Ingredients
Equipment
Method
- Make the pudding base: Whisk cold milk and pudding mix in a large bowl for exactly 2 minutes. This timing ensures proper thickening.
- Add sweetened condensed milk: Blend it in until the mixture looks creamy and uniform.
- Stir in vanilla extract: Mix thoroughly to distribute the flavor evenly.
- Fold in whipped topping: Use gentle folding motions to keep the texture light and airy.
- Slice bananas: Cut them just before assembling to prevent browning.
- Start layering: Place vanilla wafers on the bottom of your glass serving bowl.
- Add banana layer: Arrange sliced bananas over the wafers.
- Spread pudding mixture: Cover bananas with a generous layer of pudding.
- Repeat layers: Continue alternating wafers, bananas, and pudding until ingredients are used.
- Finish with pudding: End with a final layer of pudding mixture on top. Chill for at least 1 hour before serving.