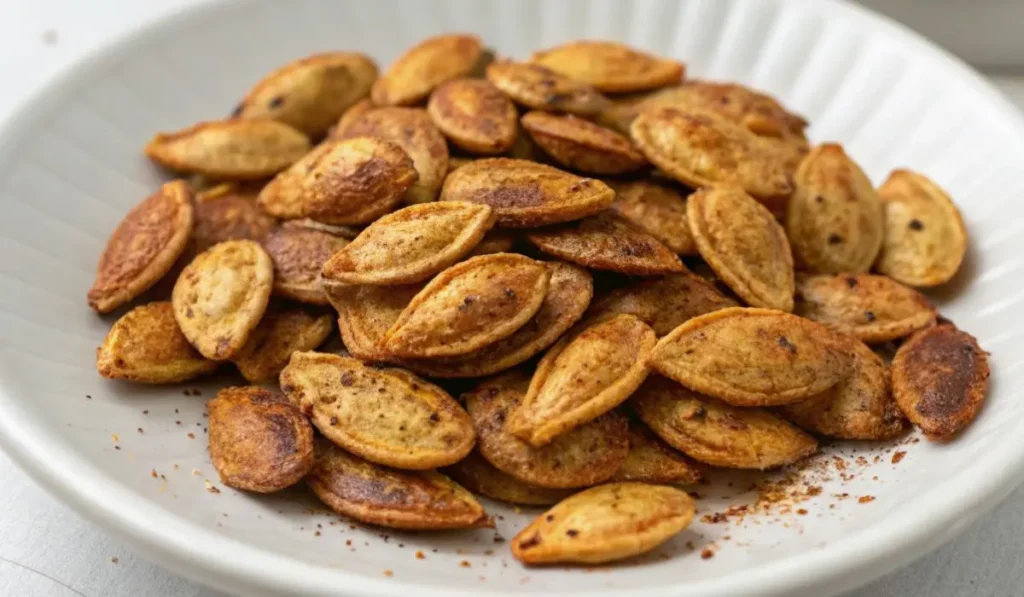
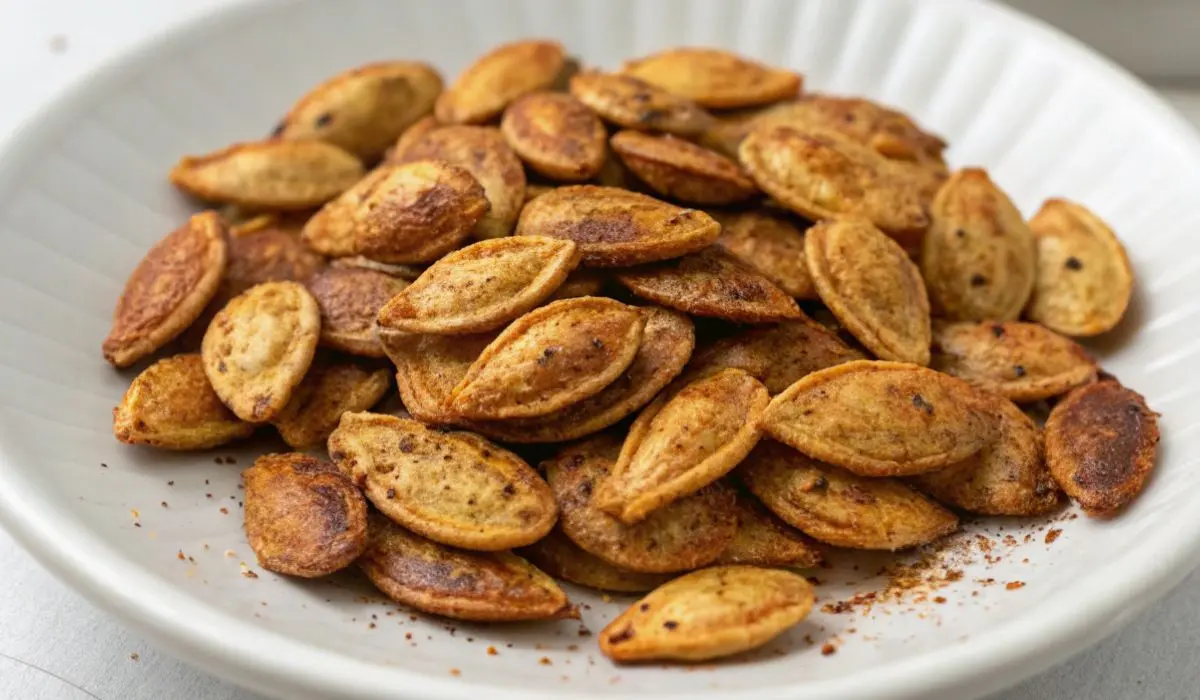
Finding the perfect pumpkin seeds recipe can transform your Halloween carving scraps into a delicious, nutritious snack. Instead of throwing away those slimy seeds, you can create a crispy treat that rivals any store-bought snack.

Why This Recipe Works
Last October, I watched my neighbor toss pumpkin seeds into the trash after carving jack-o’-lanterns with her kids. It broke my heart. Those seeds contain protein, healthy fats, and fiber. They’re too valuable to waste.
The secret lies in proper preparation. Most people skip the crucial cleaning and pre-cooking steps. This leads to chewy, bland seeds that nobody wants to eat.
The Simple Method That Changes Everything
This recipe uses a two-step process that guarantees crispy, flavorful results every time.
- Step 1. Clean Thoroughly Remove seeds from your pumpkin and place them in cold water. Swish them around until they float to the surface. This removes most of the stringy pulp naturally.
- Step 2. Simmer Before Roasting Add the cleaned seeds to boiling salted water for 5 minutes. This step does two important things:
- Removes remaining pumpkin bits
- Seasons the seeds from the inside out
Complete Pumpkin Seeds Recipe
Ingredients:
- 1½ cups pumpkin seeds
- 2 teaspoons fine sea salt (divided)
- 2 teaspoons olive oil or melted coconut oil
- 2 teaspoons spice blend (curry powder, chili powder, or pumpkin pie spice)
Instructions:
- Preheat your oven to 350°F. Line a baking sheet with parchment paper.
- Bring 2 cups water and 2 teaspoons salt to a boil in a medium saucepan.
- Scoop seeds from your pumpkin. Place them in cold water and swish until clean.
- Add cleaned seeds to boiling water. Simmer for 5 minutes.
- Drain seeds and remove any remaining pumpkin pieces.
- Pat seeds completely dry with clean dish towels. This step is crucial for crispiness.
- Toss dried seeds with oil and your chosen spices on the prepared baking sheet.
- Spread seeds in a single layer. Bake for 10-25 minutes, stirring once halfway through.
- Seeds are done when they’re golden brown and crispy around the edges.
Pro Tips for Perfect Results
- Dry Thoroughly Wet seeds create steam in the oven. This prevents proper browning and creates chewy textures. Take time to pat seeds completely dry.
- Don’t Overcrowd Spread seeds in a single layer. Overlapping seeds cook unevenly and won’t crisp properly.
- Watch Closely Smaller seeds cook faster than larger ones. Check progress after 10 minutes to prevent burning.
Flavor Variations to Try
1. Savory Options:
- Garlic powder and parmesan cheese
- Smoked paprika and black pepper
- Everything bagel seasoning
- Ranch powder
2. Sweet Combinations:
- Cinnamon and brown sugar
- Maple syrup and sea salt
- Pumpkin pie spice
3. Spicy Choices:
- Cayenne pepper and lime zest
- Harissa paste
- Chili powder and cumin
Beyond Halloween: Year-Round Snacking
You don’t need to wait for Halloween to enjoy roasted seeds. Winter squash like butternut, acorn, and delicata work perfectly with this method.
I often buy whole butternut squash specifically for the seeds. They’re smaller and cook faster, but the preparation stays the same.
Storage and Serving
Let roasted seeds cool completely before storing. They’ll stay crispy in an airtight container for two weeks at room temperature. For longer storage, freeze them for up to three months.
Serve them as a healthy snack, salad topping, or soup garnish. They add great crunch and nutrition to any meal.
Nutritional Benefits
Pumpkin seeds pack impressive nutrition into a small package. Two tablespoons provide:
- 5 grams protein
- Healthy fats
- Fiber for digestion
- Essential minerals like magnesium and zinc
Common Mistakes to Avoid
- Skipping the Simmer Raw seeds need this pre-cooking step for proper seasoning and texture.
- Inadequate Drying Moisture is the enemy of crispiness. Always pat seeds completely dry.
- Wrong Temperature Too high heat burns the outside while leaving the inside chewy. Stick to 350°F.
Final Thoughts
This pumpkin seeds recipe transforms waste into a nutritious snack that everyone loves. The simple two-step method ensures crispy, flavorful results every time.
Next time you carve a pumpkin or prepare winter squash, remember these seeds. With just 35 minutes of work, you’ll have a healthy snack that beats any processed alternative.
Your family will thank you for turning trash into treasure.

Perfect Roasted Pumpkin Seeds
Ingredients
Equipment
Method
- Preheat the oven to 350°F (177°C). Line a baking sheet with parchment paper and set aside.
- Fill a medium saucepan with 2 cups of water and season with 2 teaspoons of salt. Bring to a boil.
- Meanwhile, scoop the seeds from your pumpkin. Add the pumpkin seeds to a bowl filled with cold water and swish them until they float and are mostly clean.
- Add the cleaned seeds to the boiling salted water. Simmer for 5 minutes.
- Drain and pull away any remaining pumpkin attached to the seeds.
- Scatter the seeds onto clean dishcloths and pat them very dry. This step is crucial for crispiness.
- Mound the dried seeds onto the prepared baking sheet. Add the oil and spices, then toss until well coated.
- Spread the seeds into one layer. Bake, stirring the seeds at least once, until fragrant and golden around the edges, 10 to 25 minutes, depending on the size of the seeds.
