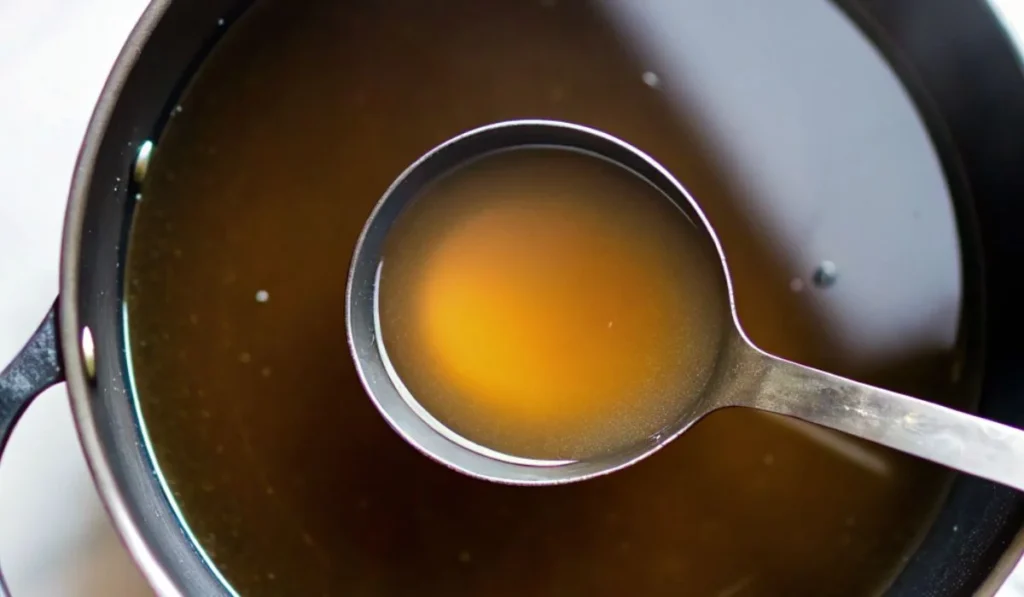
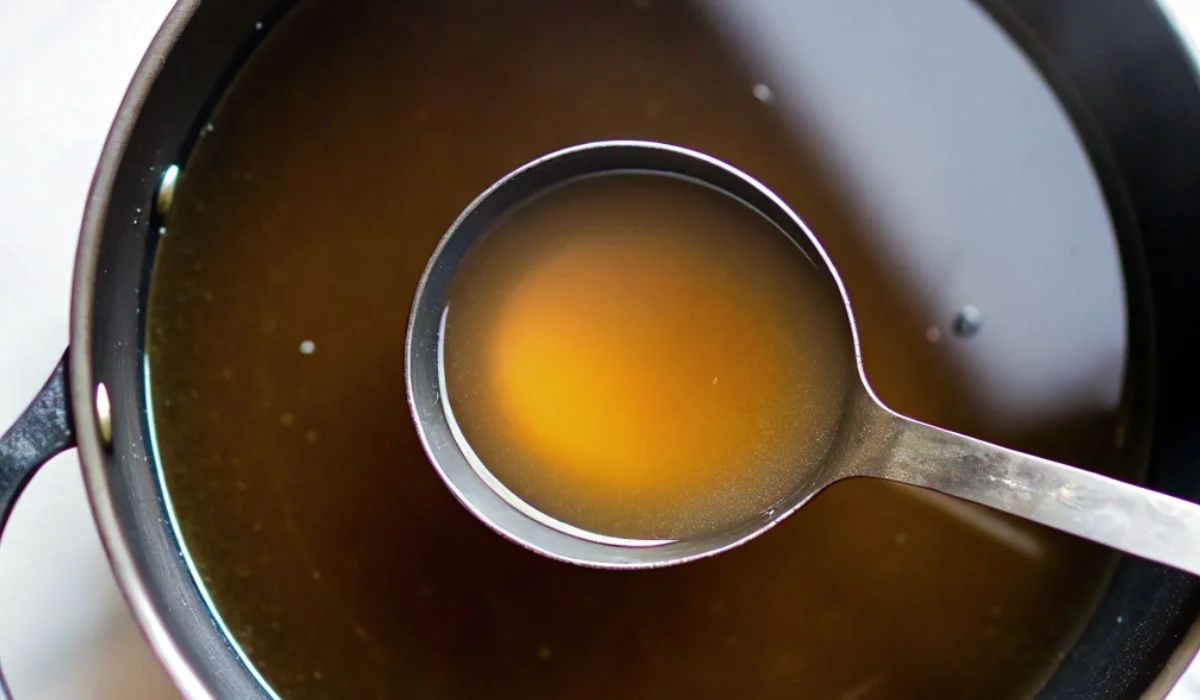
This bone broth recipe will transform your kitchen into a healing sanctuary. After making bone broth for my family for over five years, I can tell you that homemade broth beats store-bought versions every time.

What Makes Bone Broth Special?
Bone broth stands apart from regular stock for several key reasons:
- Longer cooking time. 12-24 hours versus 2-4 hours for regular stock
- Higher collagen content. More connective tissue breaks down during extended cooking
- Gelatinous texture. Properly made broth turns jelly-like when cooled
- Nutrient density. Extended simmering extracts more minerals from bones
- Deeper flavor Long cooking creates rich, complex taste
The magic happens during the slow cooking process. Heat breaks down connective tissues and releases minerals like calcium, magnesium, and phosphorus into the liquid.
Best Bones for Your Broth
Choose a mix of different bone types for the richest flavor:
- Marrow bones. Femur bones provide healthy fats and nutrients
- Knuckle bones. High in collagen and gelatin content
- Meaty bones. Oxtail and short ribs add deep, rich flavor
- Joint bones. Contain cartilage that becomes beneficial gelatin
- Chicken feet. Extremely high in gelatin (if using chicken bones)
Ask your butcher to cut bones into smaller pieces. This helps them fit in your pot and releases more nutrients during cooking.
Essential Ingredients
Gather these simple ingredients for perfect bone broth:
Main ingredients:
- 4-5 pounds beef bones (mix of marrow and knuckle bones)
- 2 large carrots, chopped into 2-inch pieces
- 1 large onion, quartered
- 2 celery stalks, chopped
- 1 head garlic, halved crosswise
Seasonings and aromatics:
- 2 bay leaves
- 1 tablespoon black peppercorns
- 1 tablespoon apple cider vinegar
- 2 star anise (optional)
- 1 cinnamon stick (optional)
The vinegar helps extract minerals from the bones. Don’t skip this crucial ingredient.
Step-by-Step Instructions
1. Blanch the Bones
Follow these steps for cleaner, clearer broth:
- Place bones in a large pot and cover with cold water
- Bring to a boil over high heat
- Simmer for 15 minutes to remove impurities
- Drain bones and rinse thoroughly under cold water
- Wash the pot completely before the next step
2. Roast Everything
Roasting adds incredible depth of flavor:
- Preheat oven to 450°F
- Place blanched bones and chopped vegetables on roasting pans
- Roast for 30 minutes
- Turn bones and vegetables over
- Roast for another 15-30 minutes until deeply browned
- Don’t let them burn, but aim for rich browning
3. Start the Simmer
Transfer everything to your stockpot properly:
- Move roasted bones and vegetables to clean stockpot
- Scrape brown bits from roasting pan with water
- Add these flavorful bits to the pot
- Add bay leaves, peppercorns, and vinegar
- Cover with cold water by 2 inches
- Bring to a gentle boil
4. The Long Cook
Patience creates the best results:
- Reduce heat to low for gentle simmering
- Keep lid slightly open to prevent boiling over
- Simmer for 12-24 hours minimum
- Skim foam occasionally during first few hours
- Add more water if needed to keep bones covered
- Never let it boil hard, just gentle bubbling
5. Strain and Cool
Finish your broth properly:
- Pour finished broth through fine-mesh strainer
- Let cool to room temperature quickly
- Refrigerate overnight
- Remove fat layer that forms on top (optional)
- Store in containers for easy use
Pro Tips for Perfect Broth
Master these techniques for exceptional results:
- Use cold water. Always start with cold water to extract maximum nutrients
- Don’t rush. Low and slow cooking produces the best flavor and nutrition
- Quality matters. Grass-fed bones create more nutritious, flavorful broth
- Multiple bone types. Mix different bones for complex flavor
- Proper storage. Refrigerate for 5 days or freeze for 6 months
- Ice trick. Add ice to cool broth quickly and safely
Cooking Methods
1. Stovetop Method
The traditional approach offers these advantages:
- Complete control over temperature
- Easy monitoring throughout cooking
- Ability to adjust heat as needed
- Traditional method preferred by many chefs
2. Slow Cooker Option
For hands-off convenience:
- Cook on low for 24-48 hours
- Keep lid slightly open for proper evaporation
- Add water as needed to keep bones covered
- Perfect for busy schedules
3. Instant Pot Version
For faster results:
- Pressure cook for 4 hours on high pressure
- Allow natural pressure release
- While faster, some prefer traditional method
- Good option when time is limited
Health Benefits You’ll Love
Many people drink bone broth for its potential health benefits:
- Joint support. Glucosamine and chondroitin may help reduce joint pain
- Better digestion. Amino acids can support gut health and heal leaky gut
- Improved sleep. Glycine may enhance sleep quality naturally
- Skin health. Collagen supports healthy, youthful-looking skin
- Weight management. High protein content may help you feel fuller longer
- Inflammation reduction. Amino acids like glycine have anti-inflammatory effects
Remember, while these benefits are promising, more research is needed to confirm all claims.
How to Use Your Broth
Maximize your homemade bone broth with these ideas:
Drink it plain:
- Warm a cup and add sea salt and pepper
- Sip as a nourishing morning beverage
- Perfect afternoon pick-me-up
Cooking applications:
- Use as soup base for any recipe
- Cook rice, quinoa, or farro in broth
- Make gravies and pan sauces
- Add to stews and braises
Common Mistakes to Avoid
Prevent these issues for better results:
- Skipping blanching. Creates cloudy, less appealing broth
- Too many vegetables. Overpowers the bone flavor
- Boiling too hard. Makes broth cloudy and bitter
- Not roasting bones. Misses crucial flavor development
- Rushing the process. Doesn’t extract full nutrition
- Improper storage. Can lead to spoilage
Storage and Safety
Keep your broth fresh and safe:
Refrigerator storage:
- Use within 5 days
- Store in covered containers
- Reheat thoroughly before serving
Freezer storage:
- Freeze in portions for easy use
- Keeps for up to 6 months
- Leave room for expansion in containers
Safety tips:
- Cool broth quickly with ice or cold water bath
- Never leave hot broth at room temperature over 2 hours
- Reheat to 165°F before consuming
Final Thoughts
Making homemade bone broth connects you to traditional cooking methods while providing modern nutrition benefits. The process requires patience, but the results are worth every hour of simmering.
Start with quality bones, give yourself plenty of time, and enjoy the process. Your kitchen will smell amazing, and you’ll have nutritious broth ready for countless meals.
Try this recipe on a weekend when you can monitor the pot throughout the day. Once you taste homemade bone broth, you’ll never want to buy it again.

Homemade Bone Broth
Ingredients
Equipment
Method
- Blanch the bones: Place bones in a large stockpot and cover with cold water. Bring to a boil over high heat and simmer for 15 minutes. Drain and rinse bones thoroughly under cold water. Wash the pot completely.
- Roast the bones and vegetables: Preheat oven to 450°F. Place blanched bones and chopped vegetables on roasting pans. Roast for 30 minutes, then turn bones and vegetables over. Roast for another 15-30 minutes until deeply browned but not burned.
- Transfer to stockpot: Move roasted bones and vegetables to the clean stockpot. Scrape any brown bits from roasting pans with a little water and add to the pot. Add bay leaves, peppercorns, vinegar, and optional spices.
- Start the simmer: Cover bones with cold water by 2 inches. Bring to a gentle boil, then reduce heat to low. Simmer with lid slightly open.
- Long simmer: Simmer for 12-24 hours, skimming foam occasionally during the first few hours. Add more water if needed to keep bones covered. Maintain gentle bubbling, never hard boiling.
- Strain and cool: Pour finished broth through a fine-mesh strainer. Let cool to room temperature quickly (add ice if needed). Refrigerate overnight.
- Remove fat layer: Once chilled, remove the hard fat layer that forms on top if desired. The broth underneath should be gelatinous when cold.
- Store: Store in refrigerator for up to 5 days or freeze in portions for up to 6 months. Reheat gently before serving.
Notes
- Don’t skip the blanching step – it creates clearer, better-tasting broth
- Use a mix of different bone types for complex flavor
- Quality grass-fed bones produce more nutritious broth
- The broth should turn jelly-like when properly cooled
- Add salt to taste when serving, not during cooking
