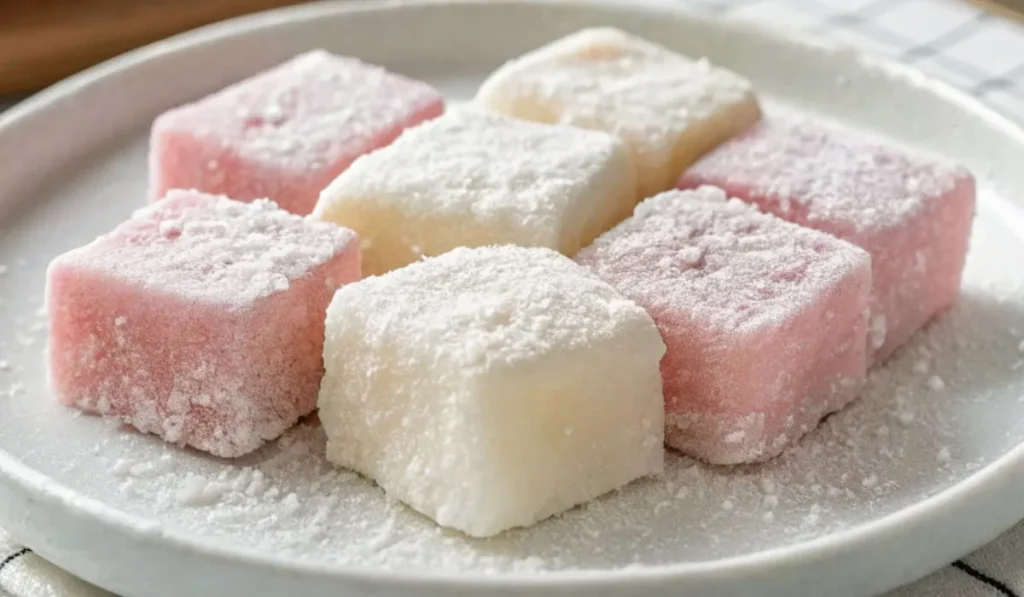
This easy mochi recipe will help you create delicious, chewy Japanese rice cakes at home with just four basic ingredients. Chi chi dango is the perfect beginner-friendly mochi dessert that requires no special equipment and delivers authentic flavor every time.
Making homemade mochi might seem intimidating, but this traditional Japanese sweet is surprisingly simple to prepare. Chi chi dango originated in Hiroshima and became popular in Hawaii, where it’s now a beloved treat. The name “dango” means dumpling, referring to the small, round shape of these sweet rice cakes.
What Makes This Mochi Recipe Special
Japanese mochi traditionally comes from pounding cooked glutinous rice. However, this chi chi dango recipe uses mochiko (glutinous rice flour) instead, making it much easier for home cooks. Here are the key benefits:
- Naturally gluten-free and vegan friendly
- Requires no special equipment or tools
- Takes less than 10 minutes to prepare
- Uses only four main ingredients
- Delivers authentic Japanese flavor
- Perfect chewy texture every time
- Easily customizable with colors and flavors
The beauty of this sweet rice cake lies in its simplicity. You get authentic mochi flavor without the labor-intensive traditional methods.
Essential Mochi Ingredients
Glutinous rice flour forms the foundation of this recipe. Despite its name, this flour contains no gluten. The “glutinous” refers to its sticky texture when cooked. Here’s your complete shopping list:
Main Ingredients:
- 1 1/2 cups mochiko (glutinous rice flour)
- 1 cup sugar
- 1/2 cup water
- 1/2 can coconut milk (about 3/4 cup)
- 1 drop food coloring (optional)
- Potato starch for dusting
Where to Find These Ingredients:
- Japanese markets (best selection)
- Target or Amazon (convenient options)
- Regular grocery stores like Safeway
- Online retailers for specialty items
Blue Star Mochiko is the most popular brand in America. Potato starch (katakuriko) prevents the mochi pieces from sticking together. While you can substitute cornstarch, potato starch gives better texture and taste.
Step-by-Step Mochi Instructions
Making Japanese rice cakes in the oven produces consistent results. Follow these simple steps for perfect homemade mochi:
- Preheat your oven to 350°F
- Grease an 8×8 glass baking dish
- Mix mochiko, sugar, coconut milk, water, and food coloring until smooth
- Pour the mixture into your prepared dish
- Cover tightly with aluminum foil
- Bake for 45-55 minutes until cooked through
- Let cool completely before cutting
Glass bakeware works best because mochi is very sticky. The aluminum foil traps steam, keeping your rice cake dessert moist during baking.
Cutting and Serving Your Mochi
Once your sweet mochi has cooled completely, it’s time to cut it. Dust the surface generously with potato starch to prevent sticking. Here are the best cutting methods:
Recommended Cutting Tools:
- Pizza cutter (works perfectly, never sticks)
- Plastic knife (good alternative option)
- Cookie cutters (for fun shapes and special occasions)
Cutting Steps:
- Wait for complete cooling (very important)
- Dust surface with potato starch
- Cut into small rectangles like caramels
- Add more starch between pieces
- Store in airtight container immediately
You can create heart shapes for Valentine’s Day or traditional squares for everyday enjoyment. The key is keeping everything well-dusted with starch.
Storage and Serving Tips
Store your finished chi chi dango in an airtight container at room temperature. It will stay fresh for several days without refrigeration. Here are the best practices:
Storage Guidelines:
- Room temperature in airtight container
- Stays fresh for 3-5 days
- No refrigeration needed
- Can be frozen for longer storage
- Reheat frozen pieces in microwave
Serving Suggestions:
- Perfect for afternoon tea time
- Great light dessert after dinner
- Ideal for Japanese-themed parties
- Excellent with green tea or coffee
- Beautiful gift for friends and family
These Japanese sweets taste best at room temperature. The chewy texture and subtle sweetness make them versatile for any occasion.
Recipe Variations and Tips
Double this recipe to use a full 16-ounce box of mochiko. Use a 9×13 inch pan and increase the baking time to at least one hour for larger batches. Here are helpful variations:
Popular Recipe Modifications:
- Double the recipe for larger batches
- Add different food colorings for variety
- Try coconut extract for enhanced flavor
- Create layered colors for special occasions
- Make mini portions for individual servings
Microwave Method:
- Use plastic microwave bundt pan
- Cover with plastic wrap securely
- Cook on high for 8-9 minutes
- Be careful of hot steam when uncovering
Troubleshooting Tips:
- Use organic coconut milk with 1/2 cup water
- Increase water to 1 cup if using coconut milk with emulsifiers
- Always use glass baking dishes to prevent sticking
- Never substitute other rice flours for mochiko
Recent changes in coconut milk formulation may affect the water ratio, so adjust accordingly based on your coconut milk type.
Why This Mochi Recipe Works
This foolproof method eliminates the guesswork from making Japanese rice cakes. The combination of coconut milk and water creates the ideal moisture balance, while the oven method ensures even cooking throughout.
The result is authentic-tasting mochi with perfect chewiness. Each bite delivers the traditional texture and subtle sweetness that makes this dessert so beloved in Japanese and Hawaiian cuisine.
Whether you’re new to Japanese cooking or looking for a reliable mochi recipe, this chi chi dango method delivers consistent, delicious results every time. The simple ingredients and straightforward technique make it accessible for cooks of all skill levels.

Easy Chi Chi Dango Mochi
Ingredients
Equipment
Method
- Preheat oven to 350°F (175°C). Grease an 8×8 inch glass baking dish thoroughly to prevent sticking.
- In a large mixing bowl, combine mochiko, sugar, coconut milk, water, and food coloring (if using). Whisk until the mixture is completely smooth and no lumps remain.
- Pour the batter into the prepared baking dish, spreading it evenly. Cover tightly with aluminum foil to trap steam and prevent drying out.
- Bake for 45-55 minutes, or until the mochi is cooked all the way through and has a translucent appearance. The surface should be set and not jiggly.
- Remove from oven and let cool completely in the pan for at least 30 minutes. The mochi must be completely cooled before cutting.
- Once cooled, generously dust the surface with potato starch. Using a pizza cutter or plastic knife, cut into small rectangles. Continue dusting with starch to prevent sticking.
- Store in an airtight container at room temperature for up to 5 days. Enjoy your homemade chi chi dango mochi!