This creamy homemade eggnog recipe creates the perfect holiday drink that will make you forget about store-bought versions forever. After years of testing different methods, I’ve perfected this simple technique that delivers rich, velvety eggnog every time.
I started making homemade eggnog five years ago when my family grew tired of the artificial taste in commercial versions. After several attempts with different techniques, this method consistently produces the best results. The secret lies in proper tempering and the right cooking temperature.

Essential Ingredients for Perfect Eggnog
Creating authentic eggnog requires simple, quality ingredients that work together to build rich flavor and smooth texture.
Base ingredients you’ll need:
- 6 large egg yolks (room temperature works best)
- 1/2 cup granulated sugar
- 1 cup heavy whipping cream
- 2 cups whole milk
- 1/2 teaspoon ground nutmeg
- Pinch of salt
- 1/4 teaspoon vanilla extract
Optional toppings and additions:
- Ground cinnamon for dusting
- Fresh whipped cream
- Your choice of alcohol (brandy, rum, or bourbon)
The egg yolks create the creamy base, while heavy cream adds richness. Whole milk provides the right consistency without making it too thick. Fresh nutmeg gives the classic holiday flavor that makes eggnog special.
Step-by-Step Instructions for Homemade Eggnog
This foolproof method ensures smooth, lump-free eggnog without the risk of scrambled eggs.
Preparation steps:
- Mix the base. Whisk egg yolks and sugar in a medium bowl until light and creamy. This creates the foundation for your eggnog.
- Heat the dairy. Combine cream, milk, nutmeg, and salt in a saucepan over medium-high heat. Stir frequently until the mixture reaches a bare simmer.
- Temper the eggs. Add one large spoonful of hot milk mixture to the egg bowl, whisking vigorously. Repeat this process, adding one spoonful at a time. This prevents the eggs from cooking too quickly.
- Combine and cook. Pour the tempered egg mixture back into the saucepan. Whisk constantly for 1-2 minutes until slightly thickened or until it reaches 160°F on a thermometer.
- Finish and strain. Remove from heat and stir in vanilla. Pour through a fine mesh strainer into a pitcher to remove any lumps.
- Chill and serve. Refrigerate until cold. The eggnog will thicken as it cools. Serve with whipped cream and a sprinkle of cinnamon.
Pro Tips for the Best Homemade Eggnog
These techniques ensure your holiday eggnog turns out perfectly every time.
- Temperature control matters most. Keep the heat at medium-high and watch carefully. Too high heat will scramble the eggs, while too low won’t thicken the mixture properly.
- Straining is essential. Always strain your finished eggnog through a fine mesh strainer. This removes any small lumps and creates silky smooth texture.
- Patience with tempering. Take your time when adding hot milk to the eggs. Rushing this step can ruin the entire batch.
- Storage and consistency. Homemade eggnog keeps in the refrigerator for up to one week. If it becomes too thick, blend with 1-2 tablespoons of milk until smooth.
Adding Alcohol to Your Holiday Eggnog
Traditional eggnog often includes alcohol, which balances the sweetness and adds depth to the flavor profile.
Best alcohol choices:
- Brandy creates classic eggnog flavor
- Dark rum adds tropical warmth
- Bourbon provides smoky depth
- Whiskey offers bold character
Start with 1/4 cup of your chosen alcohol and add it with the vanilla. Taste and adjust according to your preference. The alcohol helps preserve the eggnog and creates the traditional holiday drink many people love.
Serving Suggestions and Variations
Creative serving ideas make your homemade eggnog even more special for holiday gatherings.
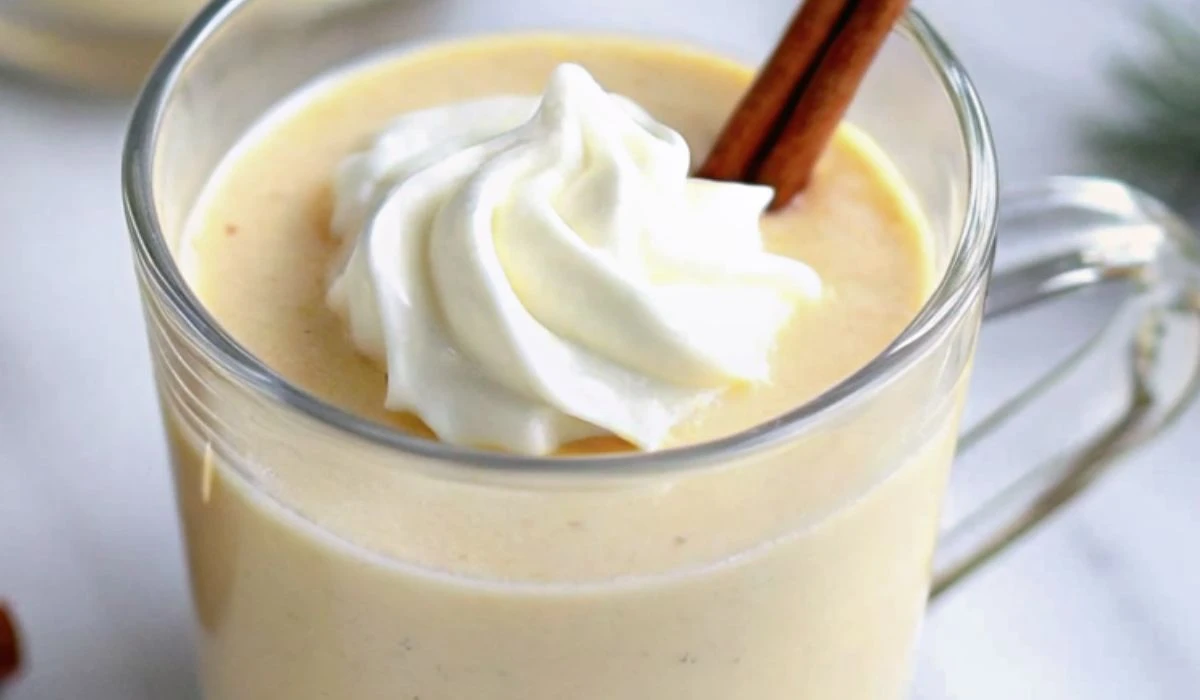
- Classic presentation. Serve in clear mugs with a dollop of whipped cream and a cinnamon stick for stirring.
- Flavor variations. Try adding a pinch of cardamom or allspice for unique warmth. Some people enjoy a dash of maple syrup instead of all granulated sugar.
- Make-ahead tips. Prepare eggnog up to three days before serving. The flavors actually improve as they meld together in the refrigerator.
Why This Recipe Works Better Than Store-Bought
Commercial eggnog contains preservatives and artificial flavors that can’t match the fresh taste of homemade versions. This recipe uses real eggs and cream to create authentic richness and natural flavor.
The controlled cooking process ensures food safety while maintaining the creamy texture that makes eggnog special. Unlike store-bought versions, you control the sweetness level and can customize the spices to your family’s preferences.
Making eggnog from scratch also costs less per serving than premium store brands, and you know exactly what ingredients go into your holiday drink. Once you taste homemade eggnog, you’ll understand why it’s worth the small effort to make it yourself.
Easy Homemade Eggnog Recipe
Ingredients
Equipment
Method
- Whisk the egg yolks and sugar together in a medium bowl until light and creamy. This creates the foundation for your eggnog.
- In a saucepan over medium-high heat, combine the cream, milk, nutmeg, and salt. Stir frequently until the mixture reaches a bare simmer.
- Add one large spoonful of hot milk mixture to the egg bowl, whisking vigorously. Repeat this process, adding one spoonful at a time to temper the eggs and prevent them from cooking too quickly.
- Once most of the hot milk has been added to the eggs, pour the mixture back into the saucepan on the stove.
- Whisk constantly for 1-2 minutes until the mixture is slightly thickened or until it reaches 160°F on a thermometer. It will thicken more as it cools.
- Remove from heat and stir in the vanilla and alcohol (if using).
- Pour the eggnog through a fine mesh strainer into a pitcher or container to remove any lumps. Cover with plastic wrap.
- Refrigerate until chilled, about 2 hours. The eggnog will thicken as it cools.
- Serve with a sprinkle of cinnamon or nutmeg and fresh whipped cream, if desired.