Making your own strawberry jam recipe at home has never been easier with just three simple ingredients. This homemade strawberry jam delivers incredible flavor without artificial additives or complicated techniques.
Fresh strawberries transform into a thick, sweet spread that beats store-bought versions every time. After years of perfecting this recipe in my kitchen, I can confidently say it’s the best way to capture summer’s sweetness in a jar.
Essential Ingredients for Perfect Strawberry Jam
Creating delicious homemade jam requires quality ingredients that work together perfectly:
- Fresh strawberries (2 pounds): Choose bright red berries with sweet fragrance for the best flavor
- Granulated sugar (1¼ cups): Essential for thickening and preserving the jam naturally
- Fresh lemon juice (2 tablespoons): Activates natural pectin and balances sweetness with tartness
Step-by-Step Instructions for Homemade Strawberry Jam
Follow these simple steps to make perfect strawberry preserves every time:
- Prepare your strawberries: Wash, hull, and roughly chop 2 pounds of fresh berries
- Combine ingredients: Add chopped strawberries, sugar, and lemon juice to a large pot
- Bring to boil: Heat mixture over medium-high heat, stirring frequently until boiling
- Reduce and simmer: Lower heat to medium-low and maintain steady simmer for 45 minutes
- Monitor temperature: Stir often and cook until jam reaches 220°F on candy thermometer
- Test consistency: Drop small amount on frozen plate to check if jam holds its shape
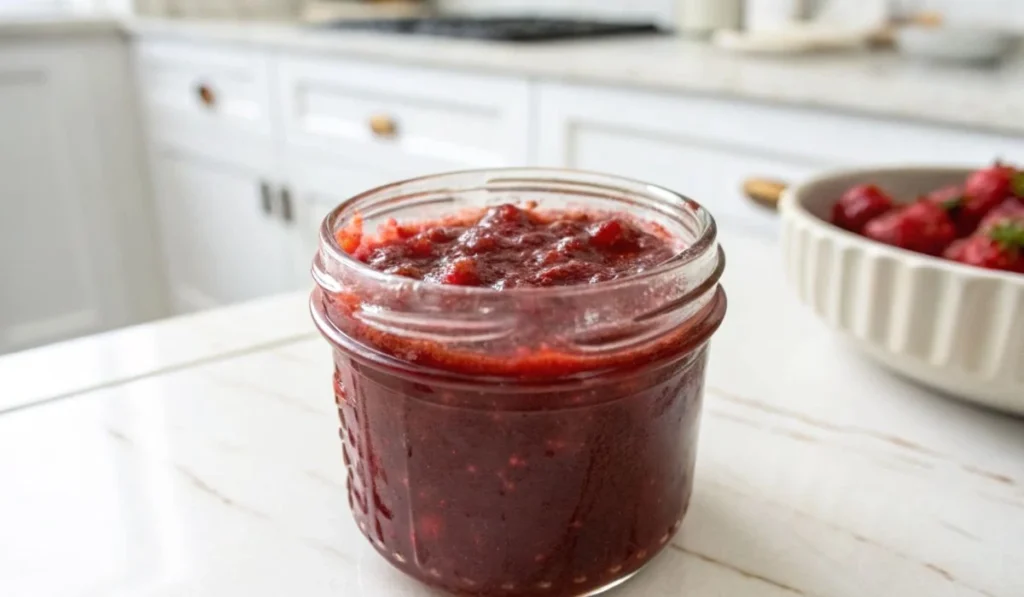
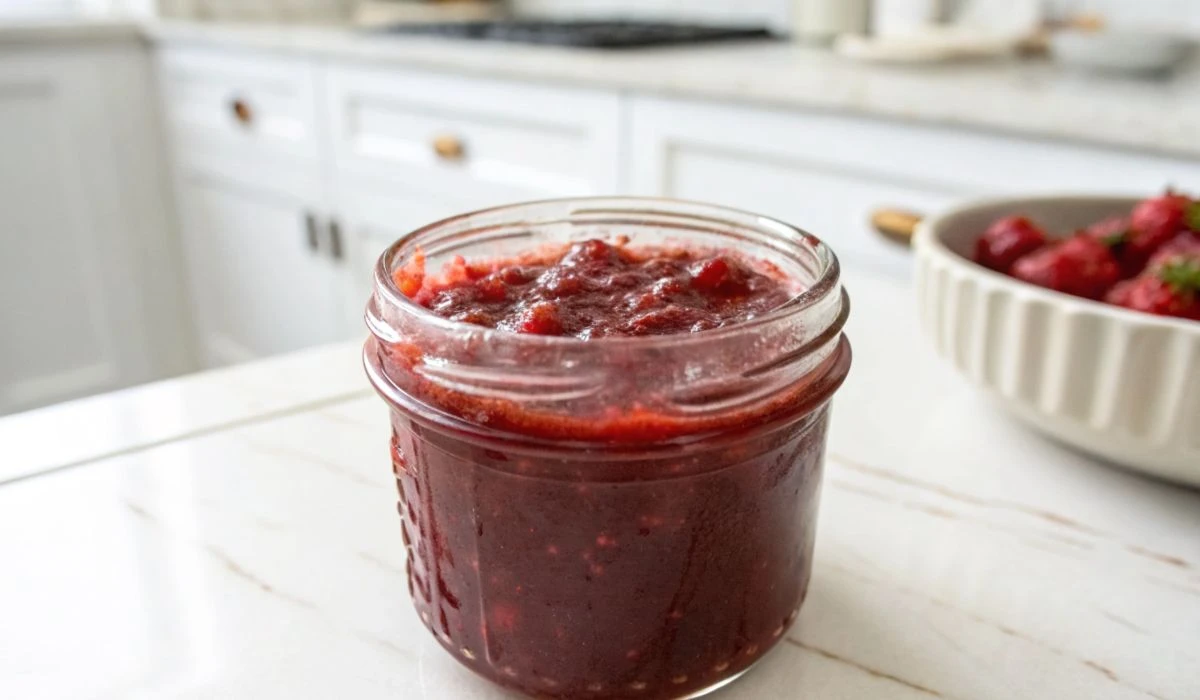
- Jar and cool: Pour hot jam into sterilized mason jars and refrigerate overnight
Why This No-Pectin Method Works Best
Traditional jam making relies on natural fruit science for perfect results:
- Natural pectin activation: Strawberries contain pectin that activates when combined with sugar and acid
- Lemon juice importance: Provides necessary acidity to help pectin gel properly without additives
- Temperature precision: Cooking to 220°F ensures perfect consistency without artificial thickeners
- Superior flavor: Natural method concentrates strawberry taste better than pectin-added versions
- Better texture: Slow cooking process creates ideal spreadable consistency
- Proven results: Extensive testing shows this approach delivers superior taste and texture
Pro Tips for Superior Strawberry Jam
Master these techniques to elevate your homemade preserves:
- Select ripe berries: Use soft, fragrant strawberries that smell sweet and look deep red
- Stir frequently: Prevent burning by stirring with long-handled spoon every few minutes
- Use frozen plate test: Keep plate in freezer to test jam consistency throughout cooking
- Sterilize jars: Clean mason jars with boiling water or dishwasher sterilize cycle
- Add flavor variations: Try lemon zest, fresh mint, or basil for unique twists
Storage and Preservation Methods
Proper storage keeps your strawberry jam fresh and delicious:
- Refrigerator storage: Sealed jars last up to 2 weeks in refrigerator
- Freezer storage: Freeze in sterilized containers for up to 12 months
- Water bath canning: Process sealed jars for 15 minutes for shelf-stable storage
- Leave headspace: Allow 1 inch space in jars for expansion during freezing
Creative Ways to Use Your Homemade Jam
Transform your strawberry preserves into delicious treats:
- Breakfast spreads: Top toast, English muffins, scones, and pancakes
- Dessert applications: Swirl into ice cream, yogurt, or overnight oats
- Baking ingredient: Fill pastries, cookies, and homemade rolls
- Savory pairings: Create salad dressings or sandwich spreads
- Gift giving: Share mason jars with friends and family
Common Mistakes to Avoid
Prevent these frequent jam-making errors:
- Using underripe fruit: Choose fully ripe strawberries for maximum sweetness and pectin
- Skipping temperature monitoring: Always use candy thermometer for consistent results
- Insufficient stirring: Regular stirring prevents sticking and ensures even cooking
- Rushing the process: Allow full cooking time for proper texture development
- Improper jar preparation: Always sterilize containers to prevent bacterial growth
Health Benefits of Homemade Strawberry Jam
Making your own preserves offers significant advantages over commercial versions:
- No artificial preservatives: Control exactly what goes into your family’s food
- Reduced sugar content: Use less sugar than typical store-bought varieties
- Fresh fruit nutrition: Retain more vitamins and antioxidants from quality ingredients
- Cost effective: Make multiple jars for fraction of premium jam prices
This simple strawberry jam recipe proves that the best flavors come from basic ingredients and traditional methods. The natural sweetness of ripe berries, combined with just the right amount of sugar and lemon juice, creates a preserve that captures the essence of fresh strawberries.
After making this recipe dozens of times, I’ve learned that patience and attention to detail make all the difference. The slow simmering process allows flavors to concentrate while natural pectin works its magic. Your kitchen will smell amazing, and the finished product will taste even better than it smells.
Whether you’re preserving peak-season strawberries or creating gifts for loved ones, this tried-and-true method delivers consistent, delicious results every single time.
Easy Strawberry Jam
Ingredients
Equipment
Method
- Wash, hull, and roughly chop 2 pounds of fresh strawberries. Don’t worry about uniform pieces as they will break down during cooking.
- Add chopped strawberries, granulated sugar, and fresh lemon juice to a large heavy-bottomed pot. Stir to combine.
- Place pot over medium-high heat and bring mixture to a full rolling boil, stirring frequently to prevent sticking.
- Reduce heat to medium-low and maintain a steady simmer. Cook for about 45 minutes, stirring often to prevent burning.
- Monitor with candy thermometer until jam reaches 220°F. The mixture should be thick and syrupy at this point.
- Test consistency by dropping a small amount on a frozen plate. If it holds its shape and doesn’t run, the jam is ready.
- Remove from heat and pour hot jam into sterilized mason jars, leaving ¼ inch headspace. Seal and cool to room temperature.
- Refrigerate overnight before serving. Store in refrigerator for up to 2 weeks or freeze for up to 12 months.