Finding an easy scones recipe that delivers bakery-quality results at home can transform your breakfast routine.
These simple homemade scones combine basic pantry ingredients to create tender, flaky pastries that pair perfectly with coffee or tea.
Whether you’re a beginner baker or experienced in the kitchen, this straightforward method produces consistent results every single time.
I’ve been making these scones for my family for over five years, and they never fail to impress guests at brunch gatherings.

Essential Ingredients for Homemade Scones
The beauty of this scone recipe lies in its simplicity and flexibility. Here are the key ingredients you’ll need:
- All-purpose flour – Forms the base structure of your scones
- Cane sugar – Adds subtle sweetness to balance flavors
- Baking powder – Creates the light, fluffy texture we love
- Sea salt – Enhances all other flavors in the dough
- Unsalted butter – Provides rich, buttery taste and flaky layers
- Cold buttermilk – Adds moisture and tangy flavor depth
- Large egg – Binds ingredients and creates tender crumb
- Vanilla extract – Optional for sweet variations
- Mix-ins – Blueberries, chocolate chips, or dried fruit
The secret to exceptional scones starts with using frozen butter that you grate directly into the flour mixture.
This technique keeps the butter cold and creates those coveted flaky layers.
Step-by-Step Scone Making Instructions
Creating perfect scones from scratch is easier than most people think. Follow these simple steps:
- Mix dry ingredients – Whisk flour, sugar, baking powder, and salt in a large bowl
- Add grated frozen butter – Use a box grater to shred cold butter into flour mixture
- Work butter into flour – Use fingertips to create a coarse meal texture
- Combine wet ingredients – Whisk buttermilk, egg, and vanilla in separate bowl
- Form the dough – Pour wet ingredients over dry and mix until shaggy dough forms
- Shape scones – Form dough into 1-inch thick disk and cut into 8 wedges
- Freeze briefly – Chill shaped scones for 15 minutes before baking
- Bake until golden – Cook at 400°F for 18-27 minutes until tops are golden brown
The key is minimal handling to keep butter pieces intact. These butter pockets create steam during baking, resulting in those beautiful flaky layers.
Popular Scone Flavor Variations
Transform your basic scone dough into exciting flavor combinations with these tested variations:
- Blueberry lemon scones – Add 1½ cups fresh blueberries and lemon zest
- Chocolate chip delights – Mix in ½ cup chocolate chips with pinch of nutmeg
- Cranberry orange treats – Combine dried cranberries with fresh orange zest
- Savory cheddar herb – Include grated cheese and fresh chives
- Classic currant scones – Traditional dried fruit option with cinnamon
Each variation requires slight adjustments to liquid amounts. Fresh fruit releases moisture, so reduce buttermilk accordingly.
I’ve found that starting with less liquid and adding more as needed prevents sticky dough.
Professional Baking Tips for Success
After making hundreds of scones, these tips guarantee perfect results every time:
- Keep ingredients cold – Cold butter and buttermilk are essential for flaky texture
- Don’t overwork dough – Gentle mixing prevents tough, dense scones
- Adjust liquid for mix-ins – Juicy fruits need less buttermilk in the recipe
- Use proper measurements – Spoon and level flour to avoid heavy scones
- Freeze before baking – This step helps scones hold their shape
- Brush with buttermilk – Creates beautiful golden tops during baking
- Test for doneness – Scones should be golden brown and sound hollow when tapped
The most common mistake I see is overworking the dough. Light handling creates tender scones, while excessive kneading develops gluten and creates tough results.
Storage and Freezing Methods
Proper storage keeps your scones fresh and delicious longer:
- Room temperature – Store in airtight container for up to 2 days
- Freezer storage – Wrap individually and freeze for up to 3 months
- Freeze unbaked – Shape scones, freeze on tray, then store in bags
- Reheat gently – Microwave briefly or warm in low oven
- Thaw naturally – Let frozen scones come to room temperature slowly
I always make double batches and freeze half unbaked. Having scone dough ready means fresh breakfast treats anytime.
Simply bake from frozen, adding 1-2 extra minutes to cooking time.
Troubleshooting Common Scone Problems
Even experienced bakers encounter issues sometimes. Here’s how to fix common problems:
- Dense scones – Usually from warm butter or overworking dough
- Dry texture – Add more liquid gradually during mixing
- Spreading during baking – Butter was too warm or dough needs chilling
- Uneven browning – Rotate pan halfway through baking time
- Crumbly texture – Not enough liquid or eggs in the mixture
The most important lesson I’ve learned is that scone dough should feel soft but not sticky. Trust your hands and adjust ingredients accordingly.
This easy scones recipe has become a weekend tradition in our home. The combination of simple ingredients, straightforward technique, and endless flavor possibilities makes it perfect for both novice and experienced bakers seeking consistent, delicious results.
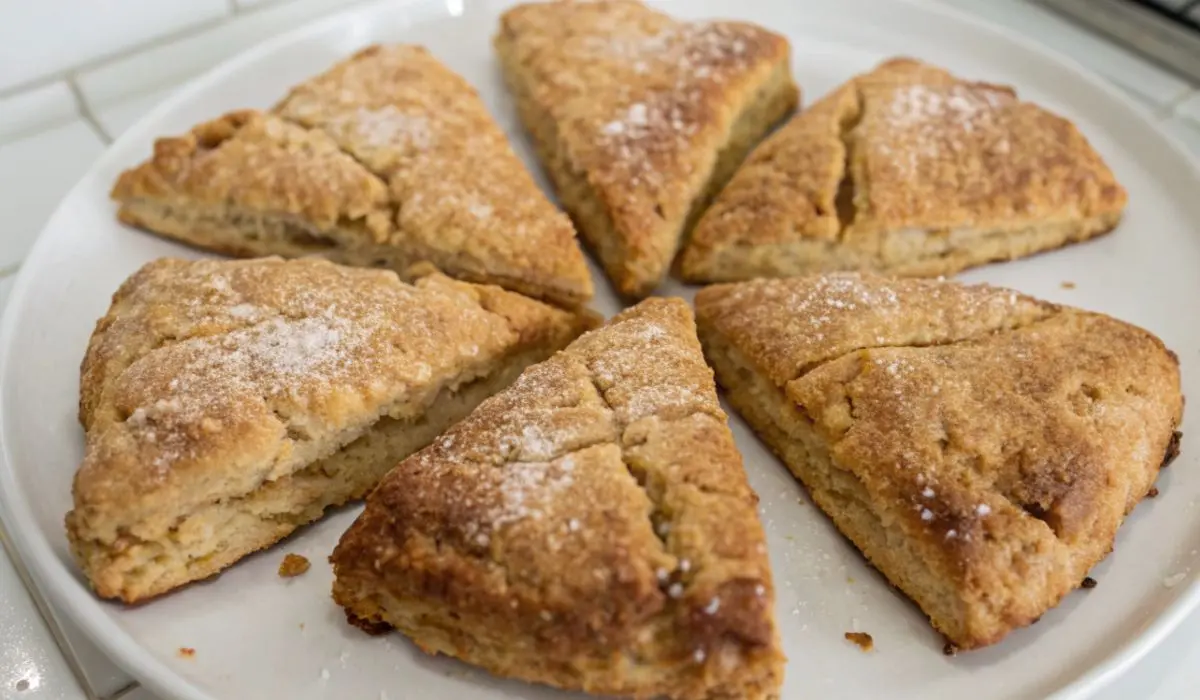
Easy Buttery Scones
Ingredients
Equipment
Method
- Line a large baking sheet with parchment paper. In a large bowl, whisk together the flour, sugar, baking powder, and salt.
- Using the large holes of a box grater, grate the frozen butter directly into the flour mixture. Toss to coat the butter shreds with flour.
- Use your fingertips to work the grated butter into the flour until the mixture resembles coarse meal with some larger butter pieces remaining. Add your desired mix-ins and toss to incorporate.
- In a medium bowl, whisk together the cold buttermilk, egg, and vanilla extract (if using). Pour this mixture over the flour mixture.
- Using a spatula, gently mix until a shaggy dough forms. Switch to your hands and knead very lightly to incorporate any remaining dry flour. The dough should be soft but not sticky.
- Transfer the dough to a lightly floured surface and gently form into a 7-8 inch disk about 1 inch thick. Using a sharp knife, cut into 8 equal wedges.
- Place the scone wedges on the prepared baking sheet, leaving space between each one. Freeze for 15 minutes while preheating the oven to 400°F (200°C).
- Remove scones from freezer and brush tops with buttermilk. Sprinkle with coarse sugar if desired. Bake for 18-27 minutes, or until golden brown on top.
- Transfer to a wire rack to cool for at least 5 minutes before serving. Serve warm or at room temperature.