I’ll never forget the first time I bit into a homemade Eskimo Pie popsicle.
Since then, I’ve made Eskimo Pie popsicles for my family more times than I can count. Along the way, I’ve learned all the little tricks to make them just right.
The store-bought ones never taste the same. They’re either too sweet or the chocolate feels kind of waxy.
But when you make the Eskimo Pie popsicle yourself at home, you’re in control.
No weird preservatives. No fake flavors. Just real cream, rich chocolate and that classic summer treat your kids (and let’s be honest, you too) will crave all season long.
Let’s make this Eskimo Pie popsicle recipe together!
A Quick Story About These Classic Treats
Here’s something cool I learned.
Back in the 1920s, a guy named Christian Kent Nelson invented the original Eskimo Pie because he saw a kid who couldn’t decide between ice cream and a chocolate bar.
Smart thinking, right?
Now the brand goes by different names (Edy’s Pie, then just “Pie”) but the magic stays the same.
I love telling my kids this story while we’re making our batch. It makes the whole process feel more special, you know?
Why I Always Make Eskimo Pie Popsicles at Home
Ingredients You’ll Need
I keep these ingredients on hand all summer. You probably have most of them already.
Tools You Need
Don’t worry, nothing expensive:
No popsicle molds? Use small paper cups. I’ve done this plenty of times when all my molds were dirty.
How to Make Homemade Eskimo Pie Popsicles (Step by Step)
1: Mix Your Ice Cream Base
2: Fill and Freeze
3. Make Chocolate Coating
4. Prep for Dipping
5. Dip the Popsicles
6. Final Freeze
My Best Tips
After making Eskimo Pie popsicles for years, I’ve learned a few tricks that make a big difference.
These tips come from lots of trial and error and they’ll help you get that perfect creamy inside and crisp chocolate shell every time.
Fun Ways to Mix It Up
1. Different Ice Cream Flavors
I’ve made these with mint ice cream (so refreshing), coffee ice cream (my personal favorite), and strawberry ice cream.
My sister-in-law makes them with caramel ice cream, and they’re incredible.
For dairy-free options, I use coconut milk ice cream. Works just as well.
2. Chocolate Varieties
Milk chocolate makes them sweeter (great for kids). Dark chocolate gives you that rich, grown-up taste. White chocolate looks fancy and you can add food coloring for fun colors.
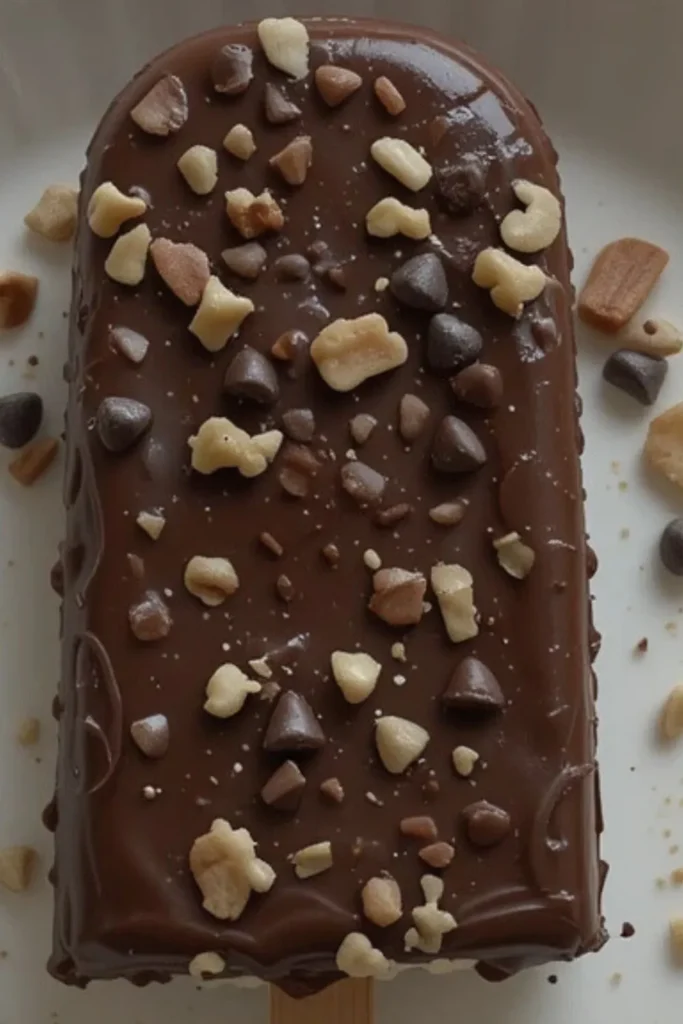
3. Creative Add-Ins
Sometimes I mix mini chocolate chips right into the ice cream base before freezing. Or I’ll swirl in some peanut butter or caramel sauce for a marbled effect.
For adult parties, I add a splash of Baileys to the chocolate coating. (Just saying)
How to Store Your Eskimo Pie Popsicles
Wrap each popsicle in wax paper, then store them in an airtight container. They’ll stay perfect for about two weeks in the freezer. Though in my house, they never last that long.
I learned to wrap them individually after finding a bunch of popsicles stuck together in one sad, frozen lump. Not my proudest kitchen moment.
Common Eskimo Pie Popsicle Problems (And How to Fix Them)
Even with the best recipe, things don’t always go as planned and that’s totally okay!
If your chocolate’s not sticking or you’re seeing ice crystals, you’re not alone.
Here are some quick fixes for the most common issues I’ve run into (and how you can avoid them next time):
Conclusion
The best part about this recipe? You can make it completely yours.
Try different ice cream flavors, experiment with toppings, or create themed versions for holidays.
My kids love making red, white, and blue ones for the Fourth of July using white chocolate and berry ice cream.
So grab your ingredients, get the kids involved, and start a new summer tradition.
Trust me, once you taste these homemade versions, you’ll never go back to store-bought.
What’s your favorite ice cream flavor combination? Have you tried any crazy toppings that actually worked?
I’d love to hear about your experiments in the comments below!
Homemade Eskimo Pie Popsicles
Ingredients
Equipment
Method
- Whisk cream, milk, sugar, and vanilla until sugar dissolves
- Pour into popsicle molds and insert sticks
- Freeze 4-6 hours until solid
- Melt chocolate and coconut oil, let cool slightly
- Remove popsicles from molds
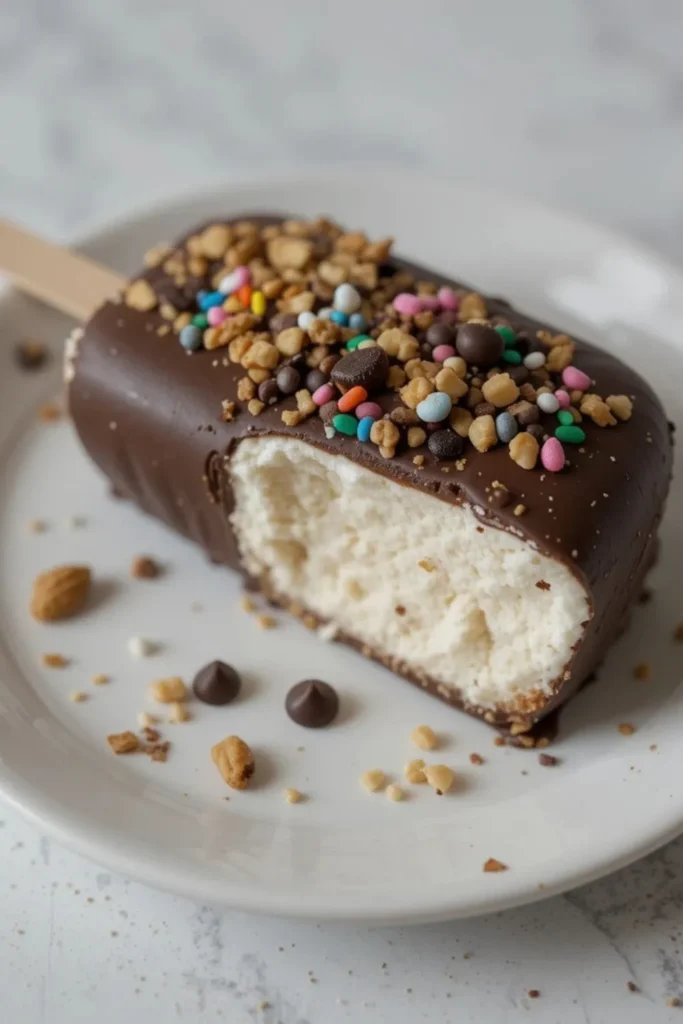
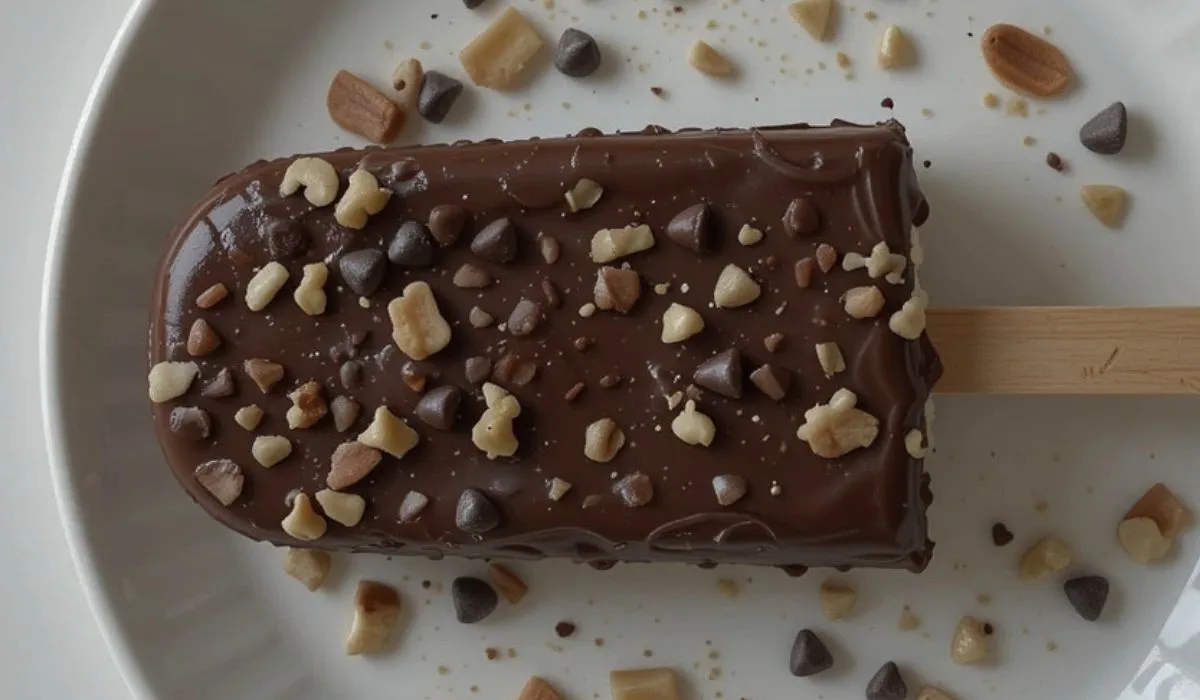
- Dip each popsicle in chocolate, add toppings if desired
- Place on parchment-lined baking sheet
- Freeze 15-30 minutes until chocolate sets
Notes
- Chocolate should be warm but not hot when dipping
- Work quickly during dipping process
- Store wrapped in airtight container up to 2 weeks
- Can substitute with dairy-free alternatives for vegan version