Making your own sugar scrub recipe at home is one of the easiest ways to pamper your skin without breaking the bank.
After years of buying expensive store-bought scrubs, I discovered that creating a DIY sugar scrub takes just minutes and uses ingredients already in my kitchen.
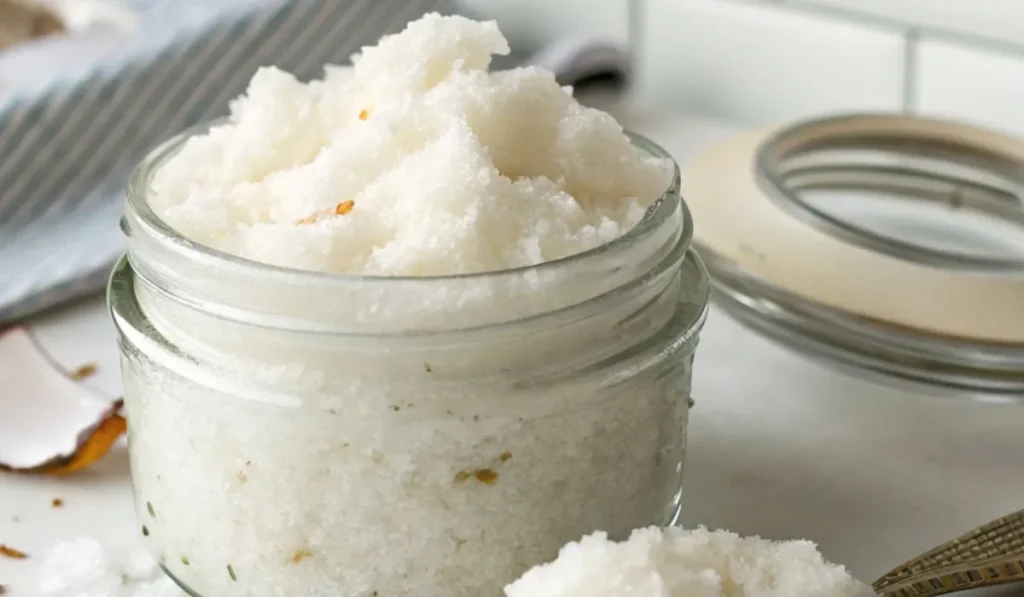
This homemade body scrub exfoliates dead skin cells while moisturizing deeply, leaving your skin incredibly soft and smooth.
The best part? You control every ingredient that touches your skin.
Essential Ingredients for Your Sugar Scrub
Creating the perfect exfoliating scrub requires just a few simple ingredients:
- Coconut oil (1/2 cup) – Acts as the moisturizing base and helps sugar particles glide smoothly
- Granulated sugar (1/4 cup) – Provides gentle exfoliation to remove dead skin cells
- Essential oils (10 drops, optional) – Adds aromatherapy benefits and natural fragrance
- Vitamin E oil (1 teaspoon, optional) – Boosts skin hydration and extends shelf life
- Citrus zest (2 tablespoons, optional) – Natural fragrance and mood-boosting properties
I always use organic cane sugar because it dissolves more gently than regular white sugar. The coconut oil should be at room temperature for easy mixing.
Step-by-Step Instructions
Follow these simple steps to create your homemade sugar scrub:
- Prepare your workspace – Use a clean glass bowl and wooden spoon to avoid contamination
- Combine base ingredients – Mix coconut oil and sugar until well blended
- Add optional ingredients – Stir in essential oils, vitamin E oil, or citrus zest if desired
- Test consistency – The mixture should hold together but not be too oily
- Transfer to container – Store in an airtight glass jar with a tight-fitting lid
- Label and date – Mark your creation date for freshness tracking
The entire process takes less than five minutes. I make fresh batches monthly to ensure the best quality for my skin care routine.
Best Essential Oils for Sugar Scrubs
Different essential oils provide unique benefits for your DIY body scrub:
- Lavender oil – Promotes relaxation and soothes irritated skin
- Eucalyptus oil – Creates an energizing spa-like experience
- Tea tree oil – Offers antibacterial properties for problem skin
- Peppermint oil – Provides cooling sensation and mental clarity
- Orange oil – Uplifts mood and adds vitamin C benefits
Start with just 5-10 drops since essential oils are potent. I learned this lesson when I added too much peppermint oil and my skin tingled for hours!
Proper Storage and Shelf Life
Maintaining your sugar scrub’s freshness requires careful storage:
- Use glass containers – Prevents chemical reactions and maintains purity
- Keep moisture out – Always use dry hands or a clean spoon when scooping
- Store at room temperature – Avoid bathroom humidity which can introduce bacteria
- Check expiration dates – Plain scrubs last 2 months, citrus versions last 3-4 weeks
- Watch for changes – Discard if you notice any odd smells or color changes
I keep my sugar scrub in my bedroom rather than the steamy bathroom to extend its life.
How to Use Your Sugar Scrub Safely
Proper application ensures you get maximum benefits from your exfoliating scrub:
- Start with damp skin – Wet skin prevents over-exfoliation and irritation
- Use gentle circular motions – Apply light pressure for 20-30 seconds
- Focus on rough areas – Pay extra attention to elbows, knees, and heels
- Rinse thoroughly – Remove all sugar particles with warm water
- Pat skin dry – Avoid rubbing which can cause irritation
- Apply immediately – Use while skin is still slightly damp for best absorption
Never use sugar scrubs on broken or irritated skin. I always do a patch test when trying new essential oil combinations.
Benefits of Homemade vs Store-Bought
Creating your own natural sugar scrub offers several advantages:
- Cost savings – Homemade versions cost 75% less than commercial products
- Ingredient control – You know exactly what touches your skin
- Customization – Adjust scents and textures to your preferences
- Freshness guarantee – Make small batches for optimal potency
- No harsh chemicals – Avoid sulfates, parabens, and artificial fragrances
After switching to homemade scrubs three years ago, my skin has never felt better, and my wallet thanks me too.
Creative Variations to Try
Experiment with these exciting sugar scrub variations:
- Coffee sugar scrub – Add ground coffee for cellulite-fighting properties
- Brown sugar version – Use for gentler exfoliation on sensitive skin
- Seasonal scents – Try cinnamon in fall or peppermint during holidays
- Colored scrubs – Add natural mica powder for visual appeal
- Therapeutic blends – Combine multiple essential oils for specific benefits
My personal favorite combines lavender and vanilla essential oils for the ultimate relaxing experience.
Troubleshooting Common Issues
Address these frequent sugar scrub problems:
- Too oily texture – Add more sugar gradually until balanced
- Too dry mixture – Incorporate additional coconut oil slowly
- Clumping problems – Ensure coconut oil is properly softened before mixing
- Weak fragrance – Essential oils may be old; replace with fresh bottles
- Skin irritation – Reduce essential oil concentration or switch varieties
Remember that natural ingredients can vary, so slight adjustments are normal when making homemade skin care products.
This simple sugar scrub recipe transforms your daily routine into a luxurious spa experience while keeping your skin healthy and radiant year-round.

Simple Homemade Sugar Scrub
Ingredients
Equipment
Method
- In a small glass bowl, combine the room temperature coconut oil and sugar using a wooden spoon or fork. Mix until well blended and the mixture holds together.
- If using optional ingredients, add your choice of essential oil, citrus zest, or vitamin E oil to the mixture. Stir gently to distribute evenly throughout the scrub.
- Transfer the completed sugar scrub to an airtight glass jar with a tight-fitting lid. Seal tightly to prevent moisture from entering.
- To use: Apply 1/2 tablespoon to damp skin and massage in gentle circular motions for 20-30 seconds. Rinse thoroughly with warm water and pat dry.
- Store at room temperature for up to 2 months. If using citrus zest, use within 3-4 weeks for best freshness.